
Solar panel installation looks straightforward from the outside — panels go on the roof, wires connect to an inverter, done. In reality, a safe and efficient installation involves careful sizing, structural planning, and electrical work that directly affects how much energy the system produces for the next 25 years. Here's the process broken into the exact steps a professional installer follows.
Step 1: Site Survey & Load Assessment
Before any panel is purchased, an installer visits the site to assess roof orientation, available shadow-free area, roof strength, and shading from nearby trees or buildings. They also review 6–12 months of electricity bills to understand the household or business's average monthly consumption in units (kWh).
Step 2: System Sizing
A simple rule of thumb: 1 kW of solar capacity generates roughly 4 units per day in most parts of India. If a household consumes 300 units/month (10 units/day), a 2.5–3 kW system is usually the right fit. Commercial sites are sized around peak daytime load and available roof area rather than just monthly consumption.
Step 3: Choosing System Type
Decide between on-grid, off-grid, or hybrid based on grid reliability and backup needs — we cover this comparison in detail in our on-grid vs off-grid guide. Most urban rooftop installations under subsidy schemes are on-grid with net metering.
Step 4: Mounting Structure Installation
Galvanized iron or aluminium mounting structures are installed first, angled to the optimal tilt for your latitude (roughly 15–25° for most of India) and oriented true south for maximum yield. Structures must be anchored securely enough to withstand monsoon winds — this is one of the most commonly under-engineered parts of budget installations.
Step 5: Panel Placement & DC Wiring
Panels are mounted onto the structure and connected in series (strings) to build up voltage, then wired to the inverter's DC input using UV-resistant solar cables and MC4 connectors. Panels are grouped so each string has similar shading conditions — mixing a partially shaded panel into a string drags down the whole string's output.
Step 6: Inverter Installation & AC Wiring
The inverter converts DC power from the panels into usable AC power. It's typically installed in a shaded, ventilated location close to the main distribution board. The inverter's AC output is then connected to the building's electrical panel through a dedicated solar AC isolator and breaker.
Step 7: Earthing & Lightning Protection
Every component — panel frames, mounting structure, and inverter — must be properly earthed to protect against electrical faults. A lightning arrestor is recommended for rooftop installations, especially in open, elevated locations.
Step 8: Net Metering & DISCOM Approval
For grid-connected systems, a net meter (which records both imported and exported units) is installed by the DISCOM after the installer submits plant details. This step is what allows you to claim the PM Surya Ghar subsidy and get credited for excess power sent back to the grid.
Step 9: Commissioning & Testing
- Check string voltage and current match expected values on the datasheet
- Verify inverter is exporting power and displaying correct generation data
- Test earthing continuity with a multimeter
- Confirm net meter is recording import/export correctly
- Hand over a system generation monitoring app/login to the customer
Safety Precautions Every Installer Should Follow
- Always treat DC wiring as live — solar panels generate voltage the moment they're exposed to light, even when disconnected from the inverter.
- Use insulated tools and proper PPE (gloves, harness for rooftop work).
- Never work on wiring during rain or high humidity.
- Double-check polarity before connecting MC4 connectors — reversed polarity can damage the inverter.
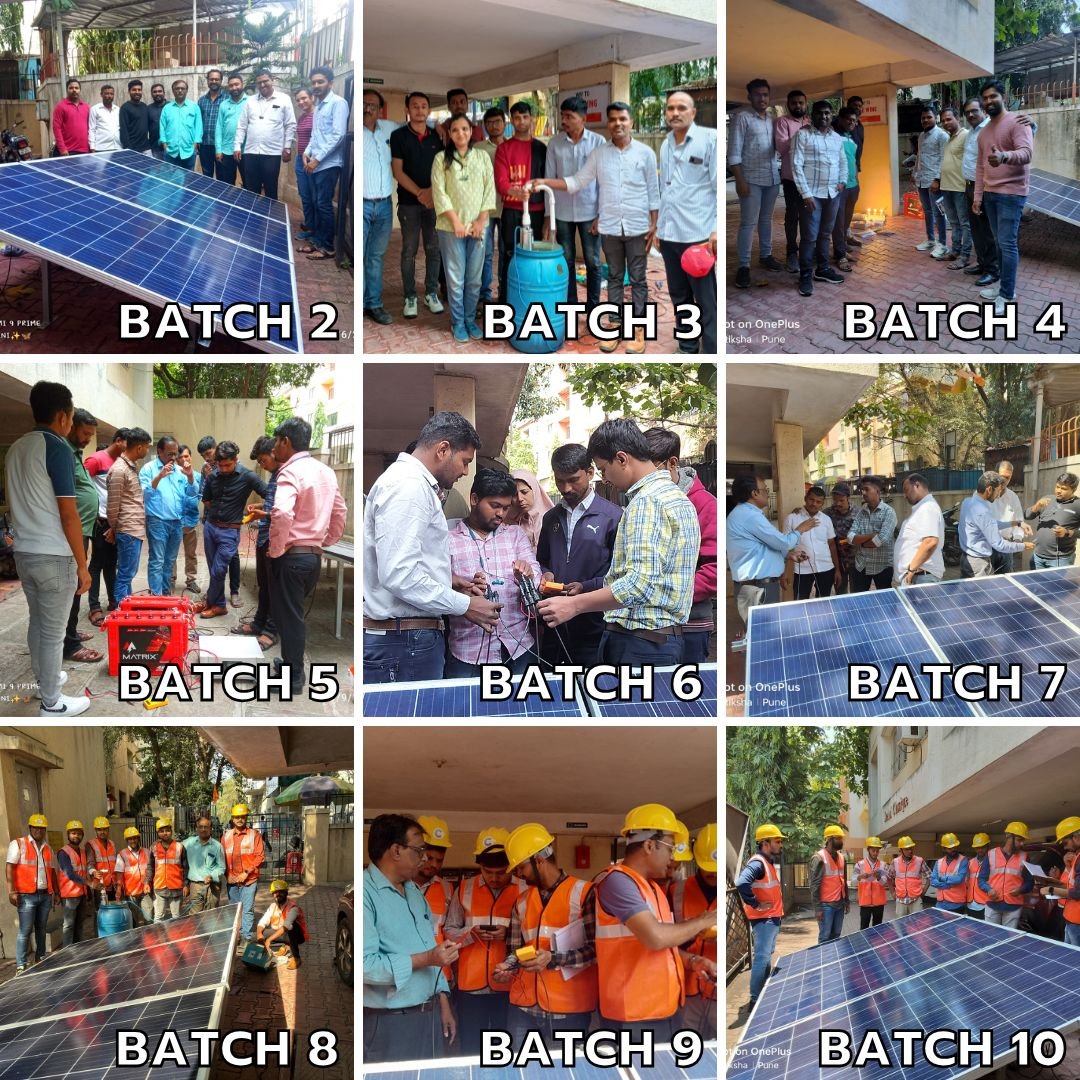
Reading about installation is a good start, but this is a hands-on trade — panel wiring, structural mounting, and net-metering paperwork are best learned by actually doing them under supervision on a live rooftop site.
Turn This Knowledge Into a Career or Business
Sunbliss Solar's hands-on training covers everything in this guide and more — installation, design, subsidy paperwork & business setup — with a govt-recognized certificate.
Book a Free Demo